Instructors using Canvas New Quizzes with embedded images will need to take the following steps to ensure that images display properly for students using Respondus LockDown Browser (RLDB). As UAB eLearning continues to lead the transition to Canvas New Quizzes, we will continue to update these directions with the most up-to-date recommendations.
Best Practices:
- When embedding images into a new Canvas New Quiz, use User Images instead of Course Images.
- When converting a Canvas Classic Quiz to a Canvas New Quiz, please follow the steps below to ensure the images display properly.
Directions
- Prepare Your Image(s):
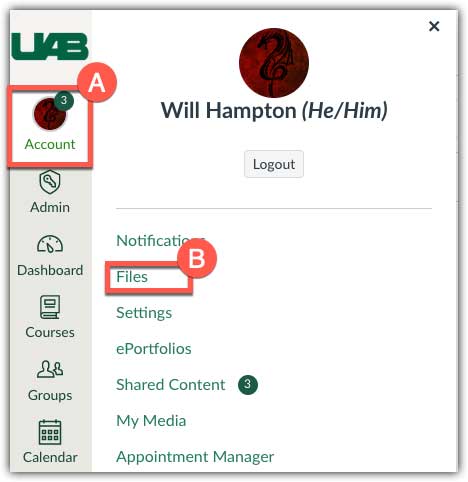
Navigate to your Canvas profile by clicking Account (A), then click 'Files' (B).
To add images to your Respondus-enabled quizzes, select 'Upload' (A). Upload the images you wish to use in your quiz.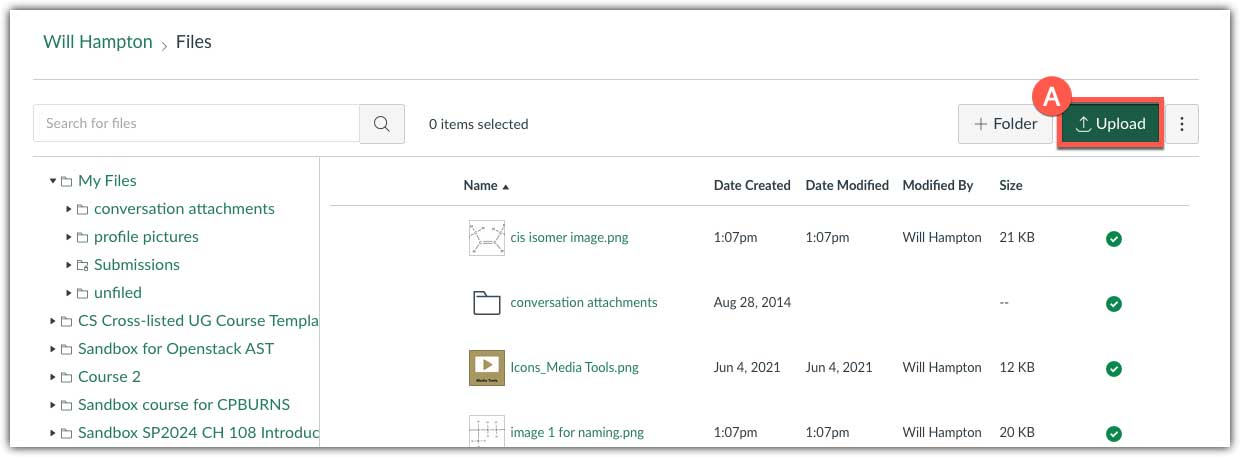
- Editing Quiz Questions:
To incorporate an image into your New Quiz question or answer, open the build menu. Go to the question you want to edit. You will see a pencil icon/Edit (A). Click on this icon to insert or replace an image.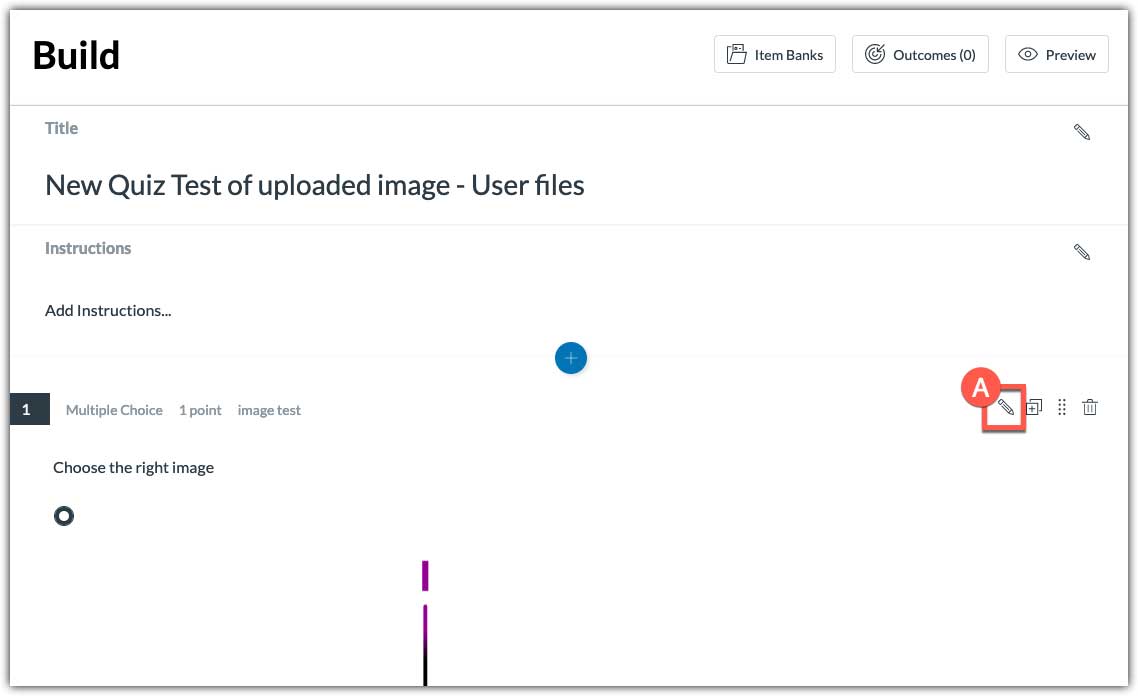
Initiate Editing: Click inside the answer box (A) or on the question header (B) to open the Rich Content Editor (RCE). This action allows you to modify the existing content or add new elements to your quiz questions and answers.
Utilize the RCE: Within the RCE, you have various tools at your disposal to enhance the quality and engagement of your quiz content. - Embedding Images:
Remove Existing Images: Select the image and press the delete key to remove it from the question or answer space (A).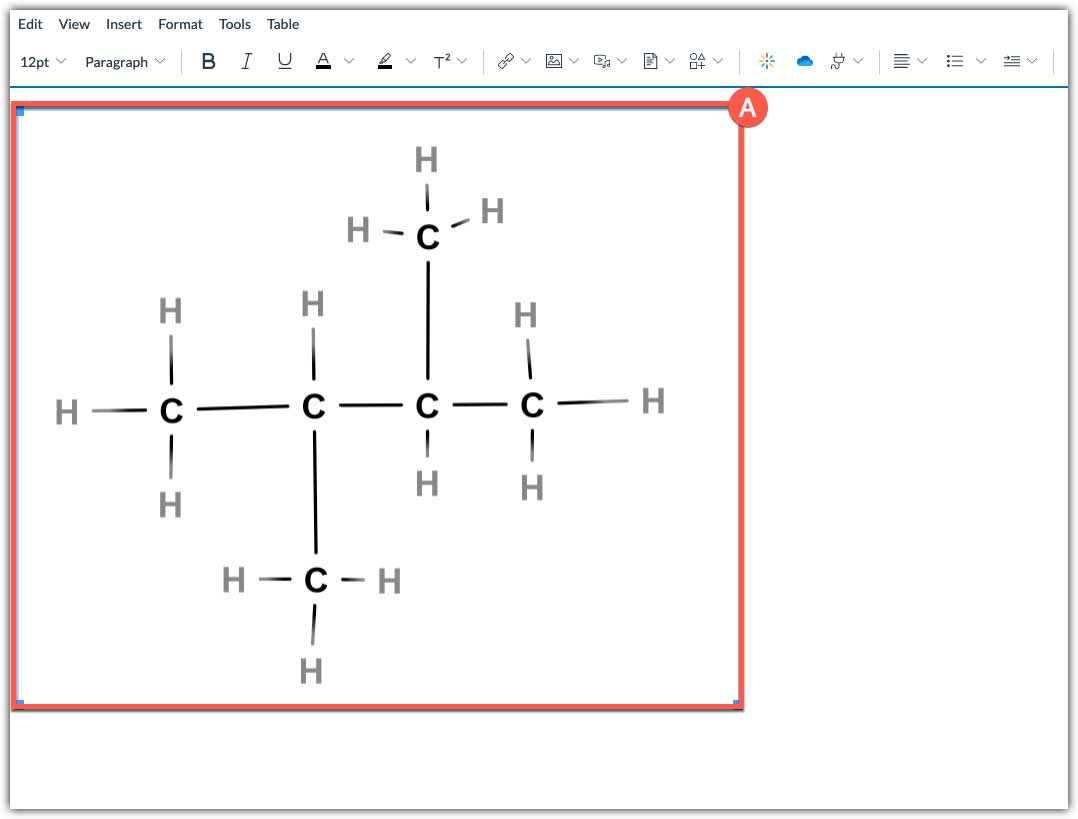
Embed New User Images: Click the Image Icon (A) in the toolbar. Then, select User Images (B) from the dropdown to access your uploaded files. Choose the image for the question or answer.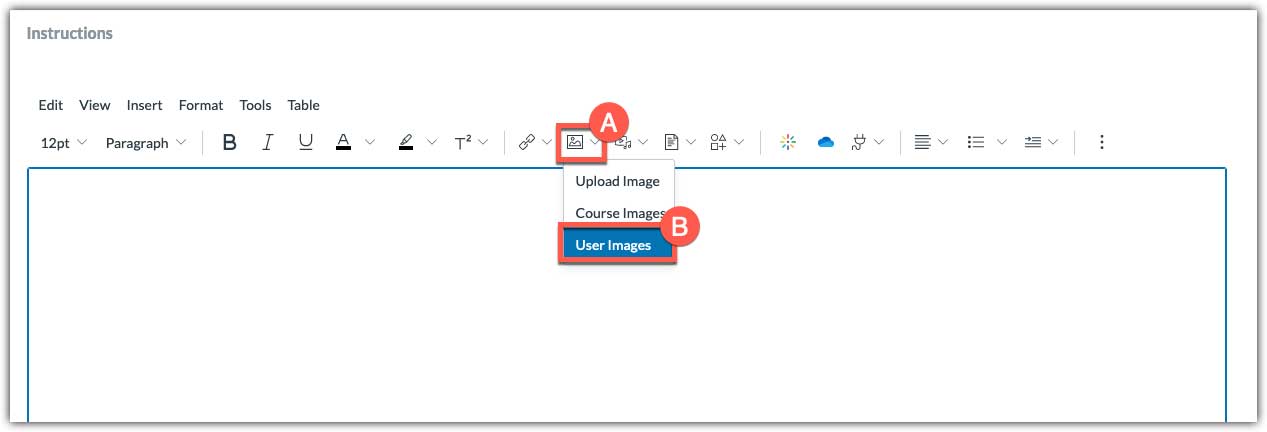
- Choose Image and Save Changes.
A dialog box will appear on the right. You can filter your images by Date Added(A) or search(B) by filename. Click on the image you would like to embed (C). The image will appear in the RCE window (D). You can toggle in and out of full-screen view using the arrow in the bottom right (E).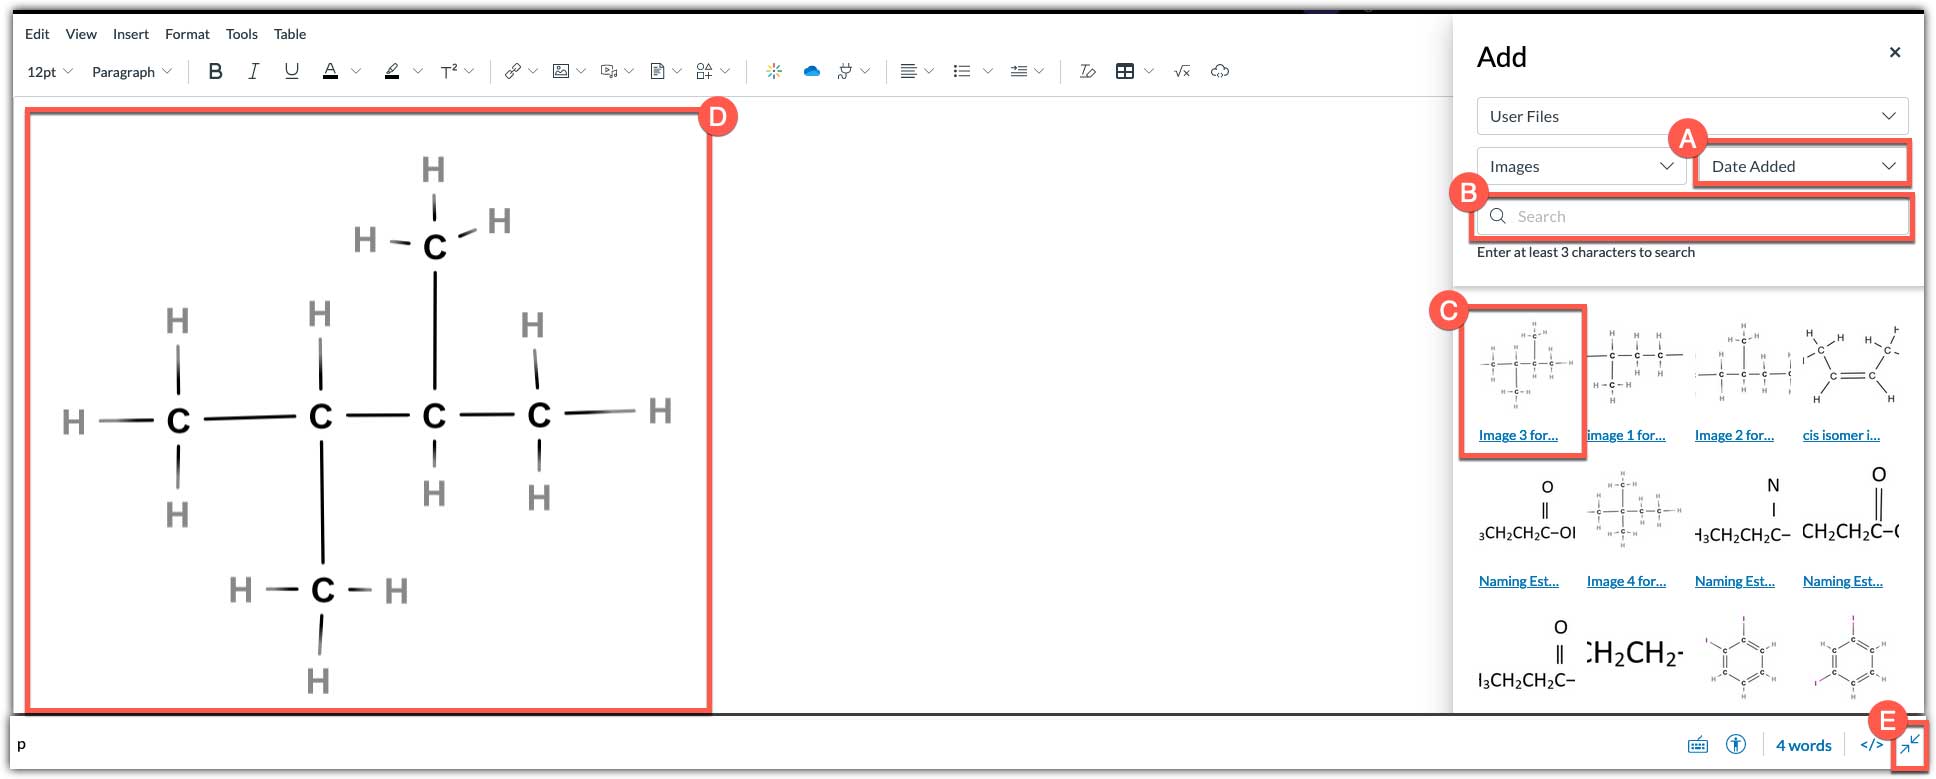
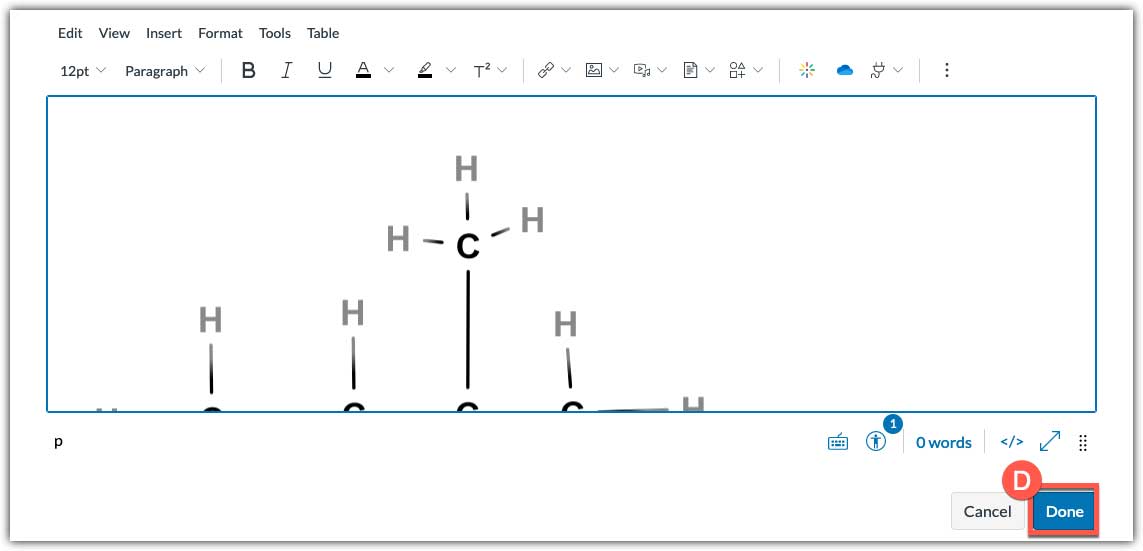
After embedding your images, save your changes by selecting 'Done' (D).