It is best to update your inventory whenever you receive hazardous chemicals. Chemicals with an NFPA rating of 2 or higher for health, fire, or reactivity are classified as hazardous. Always inspect the container for hazard pictograms and consult the Safety Data Sheet (SDS) or contact EH&S for additional information.
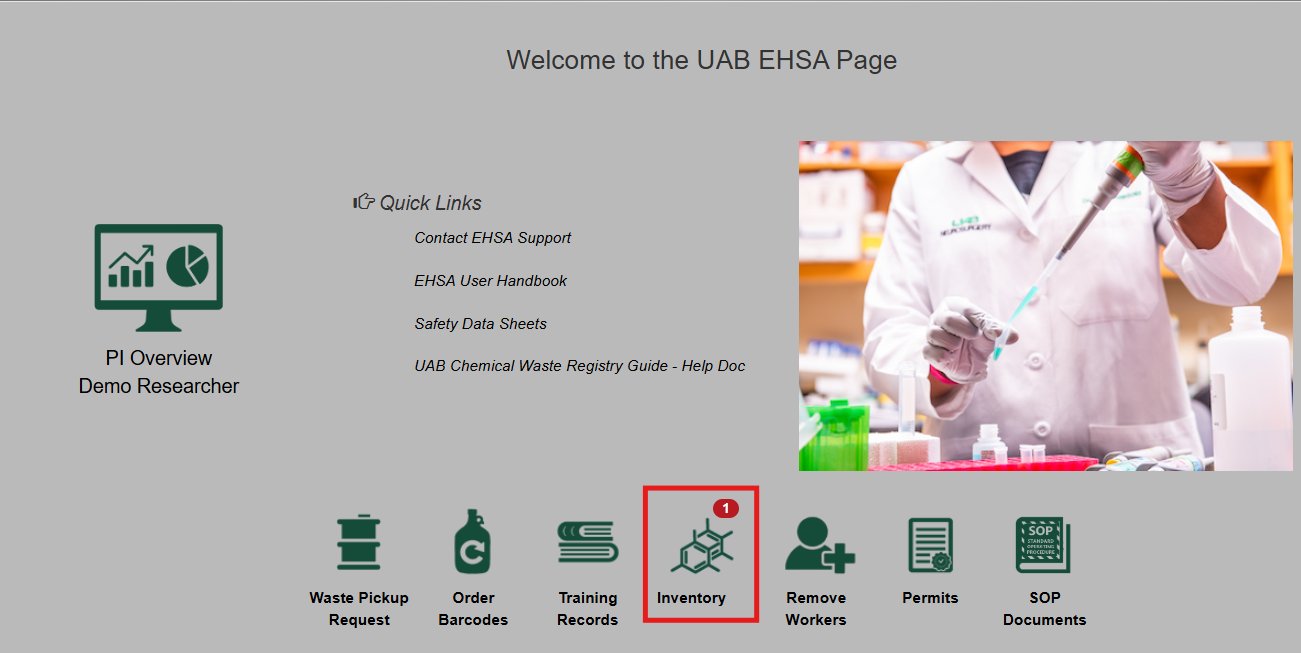
1. Click on “Inventory icon”
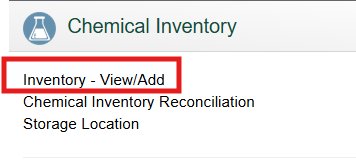
2. Select “Inventory – View/Add” from the Chemical Inventory menu.
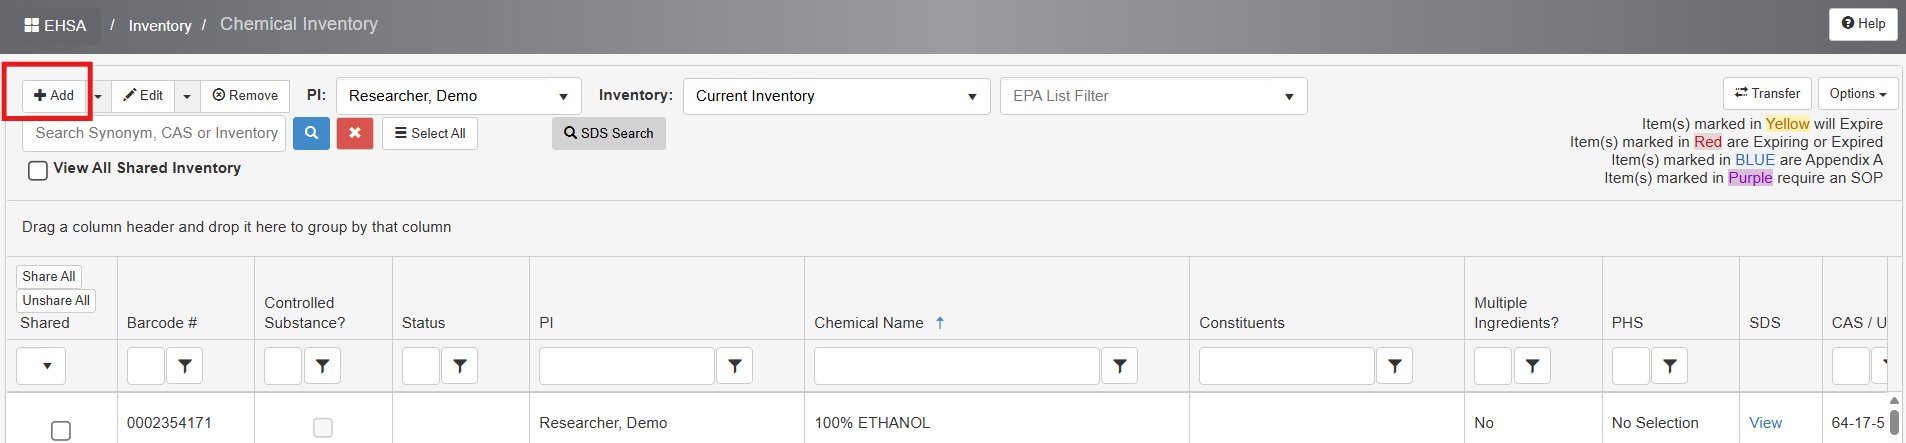
3. Select the “+Add” icon (left top corner), a new screen will pop up.
4.
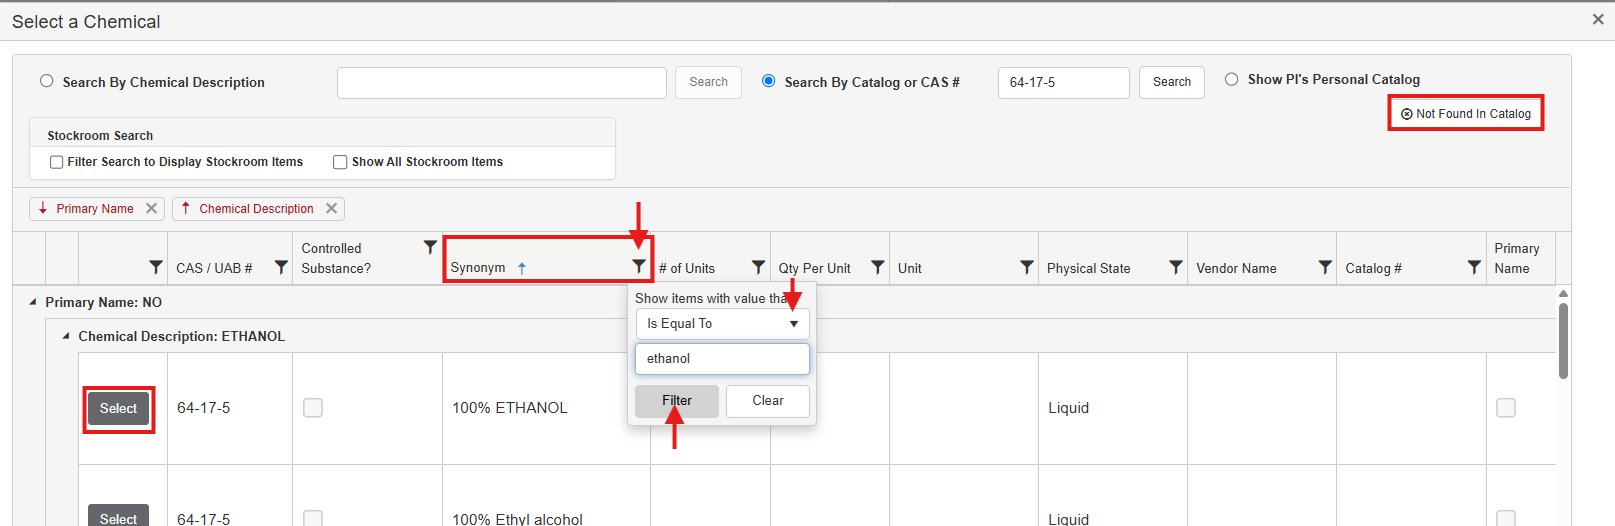
i. In the "Search by Chemical Description" section, enter the name of the chemical and click "Search".
ii. For a more specific search, you can use the "Search by Catalog or CAS" option. Please note that the catalog number will vary between vendors, but the CAS number will remain the same for the chemical.
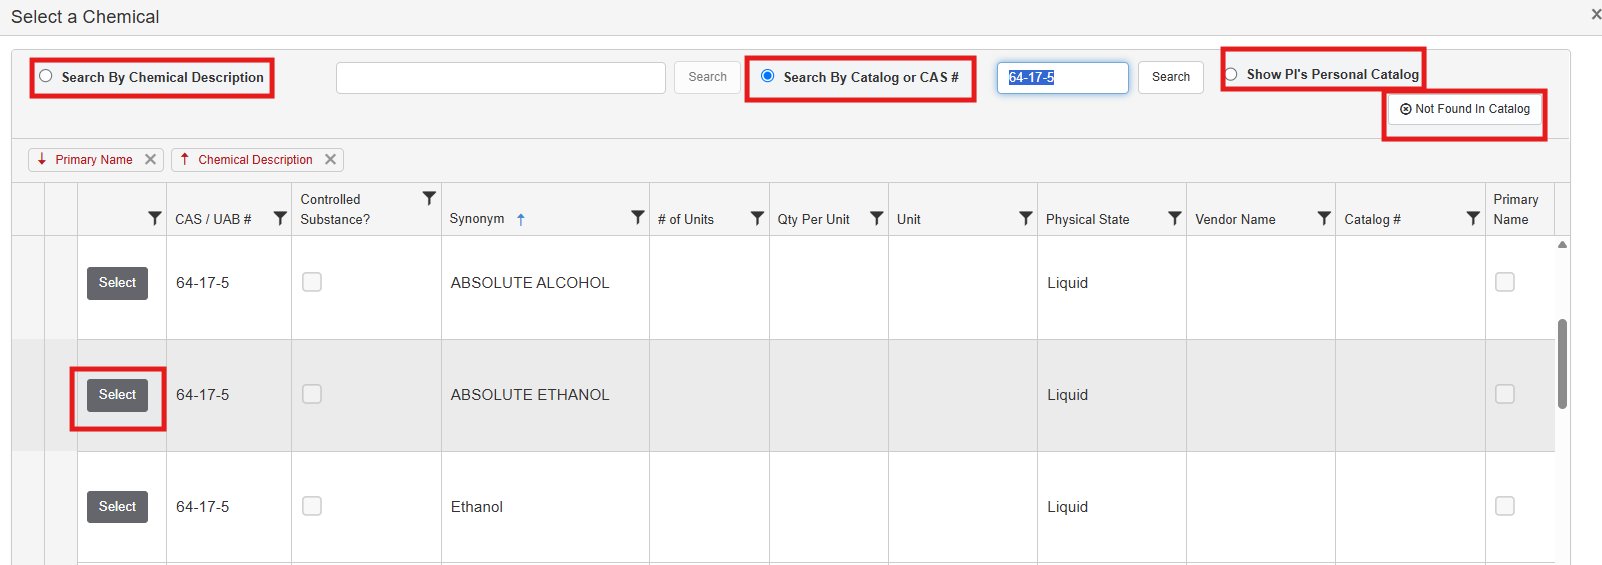
iii. If the chemical is already in your lab, use the "Show PI's Personal Catalog" to narrow down the results.
The search list pops up, choose the best option and click "Select" on the left side of the chosen chemical.
Continue to step 5.
NOTE: 1. If the chemical is not found in the catalog, click the “Not Found In Catalog” button to proceed.
2. To find the exact name as it appears on the chemical bottle from the Synonym's list, click the funnel-shaped icon for filtering, select the "Is Equal To" option, and enter the chemical name.
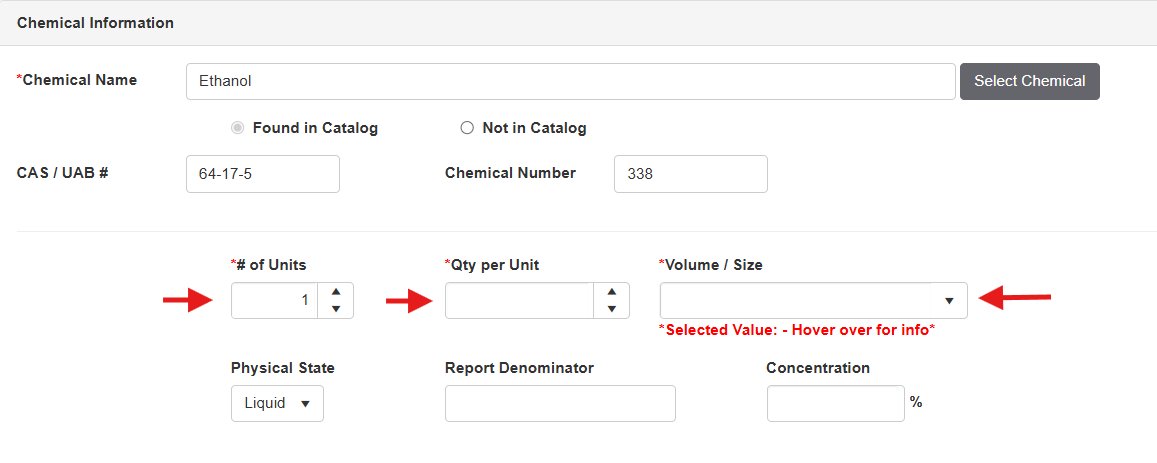
5. After selecting the chemical from the system’s catalog, a new screen will pop up - you must fill out all the information highlighted with a red asterisk.
If you have a box of identical containers (with same quantity and expiration date), insert the proper number of containers ("# of Units").
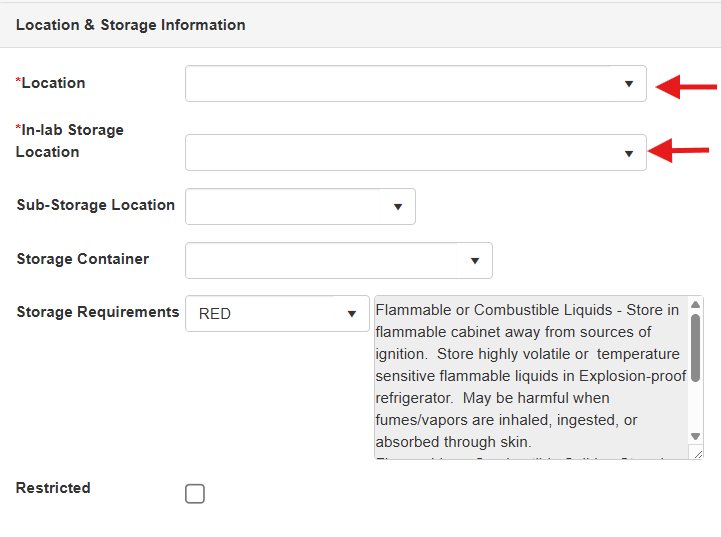
6. Below you can enter the “Location & Storage Information”. You can type for any “Sub-Storage Location” but you must set up the “In-lab Storage Location” prior to adding a chemical to your inventory to see the list of locations in the pop-up menu.
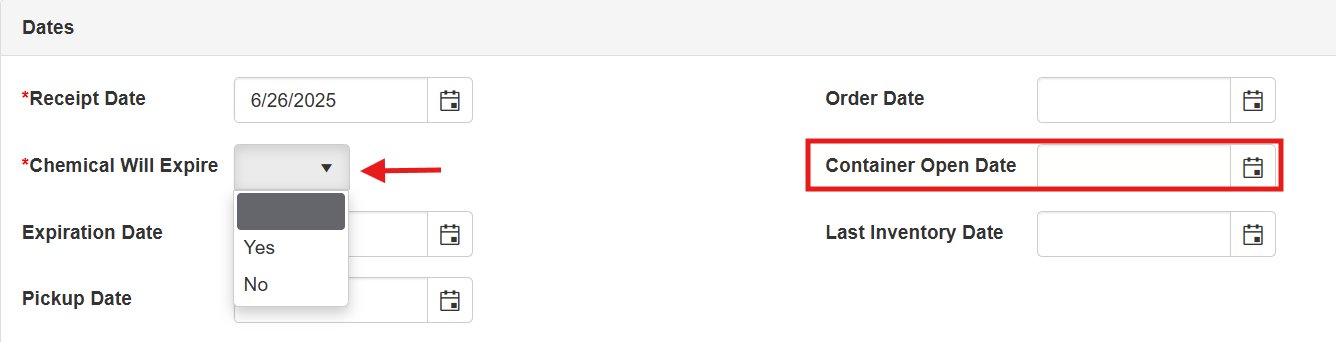
7. In the “Dates” section, add the chemical expiration information and Container open date. Certain chemicals like Ether require the container open date. You can add this date to a later day by using the “Edit” option at the top of the home page.
The “Receipt Date” will be automatically updated as the date you are entering the data. Determine the value of the Expiration field as “Yes” or “No” based on the information provided by the manufacturer.
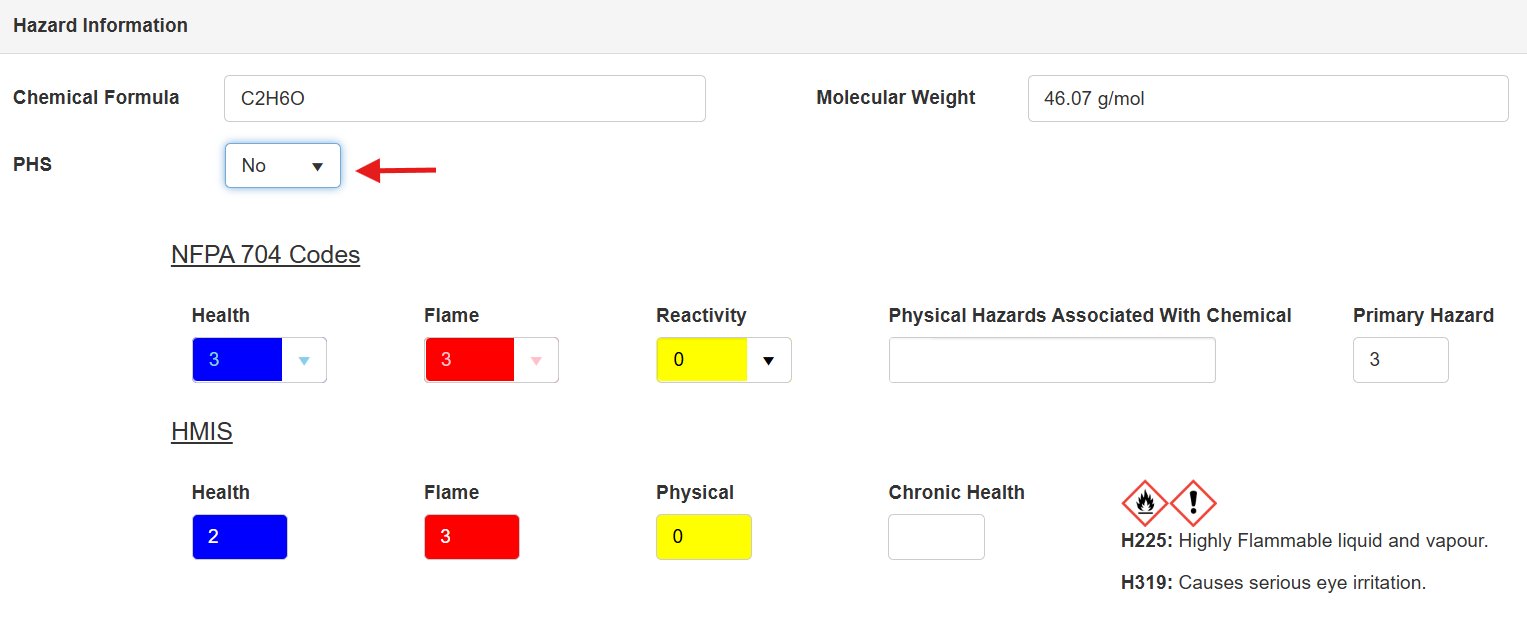
8. “The “Hazard Information” section will appear next. If you select the chemical from the system’s catalog, this section will be pre-filled. Otherwise, you will need to complete it manually or contact EHSA Support to update the information.
Since it is not a mandatory requirement, you can leave this section blank and contact EHSA Support to update it in the catalog.
The “PHS” field will display “Yes”, “No”, or remain blank, depending on whether the chemical is classified as a Particularly Hazardous Substance.
9. Use the “Google Search” or “Search Chemwatch Service” to obtain the SDS information. If the catalog includes an updated Safety Data Sheet (SDS), you can select and view the document for more details.
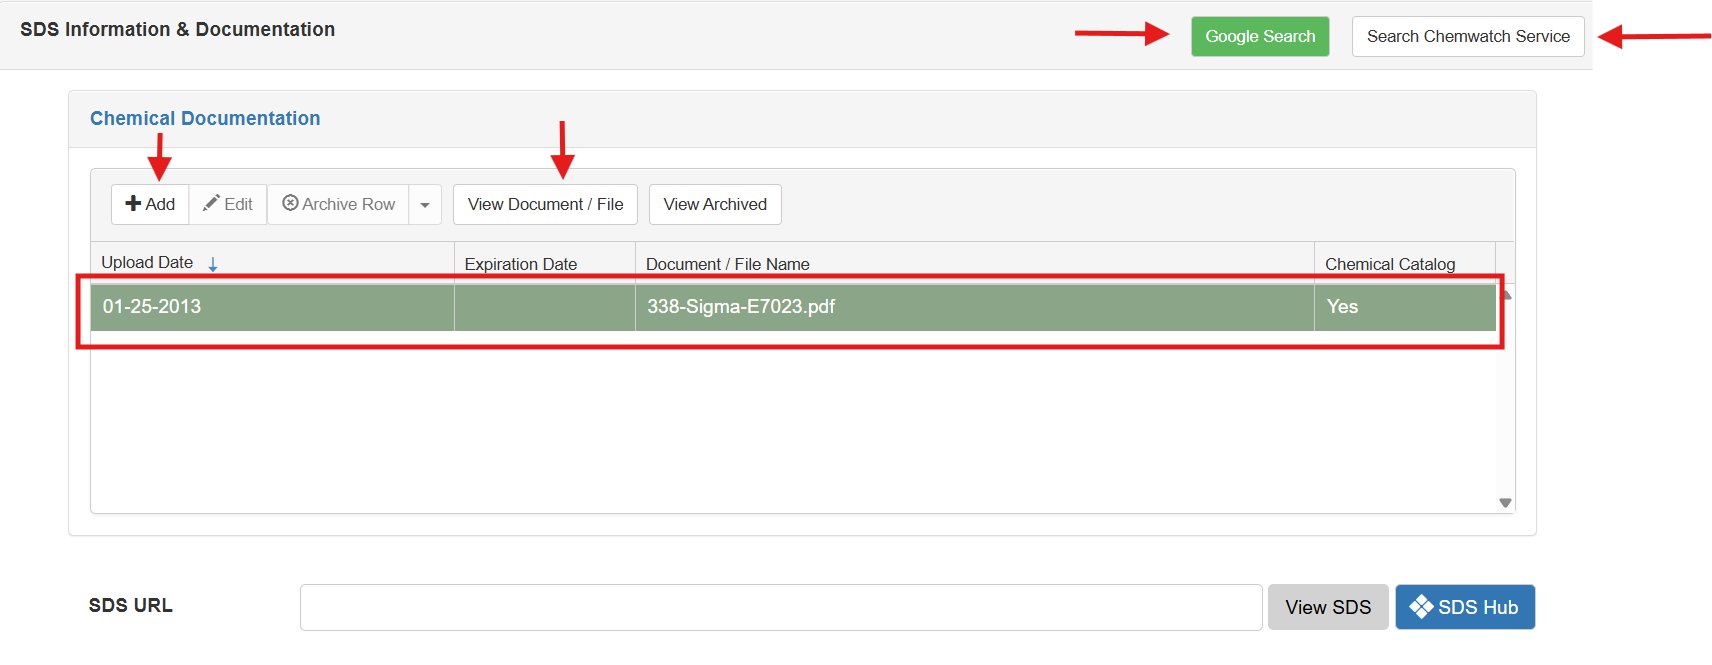
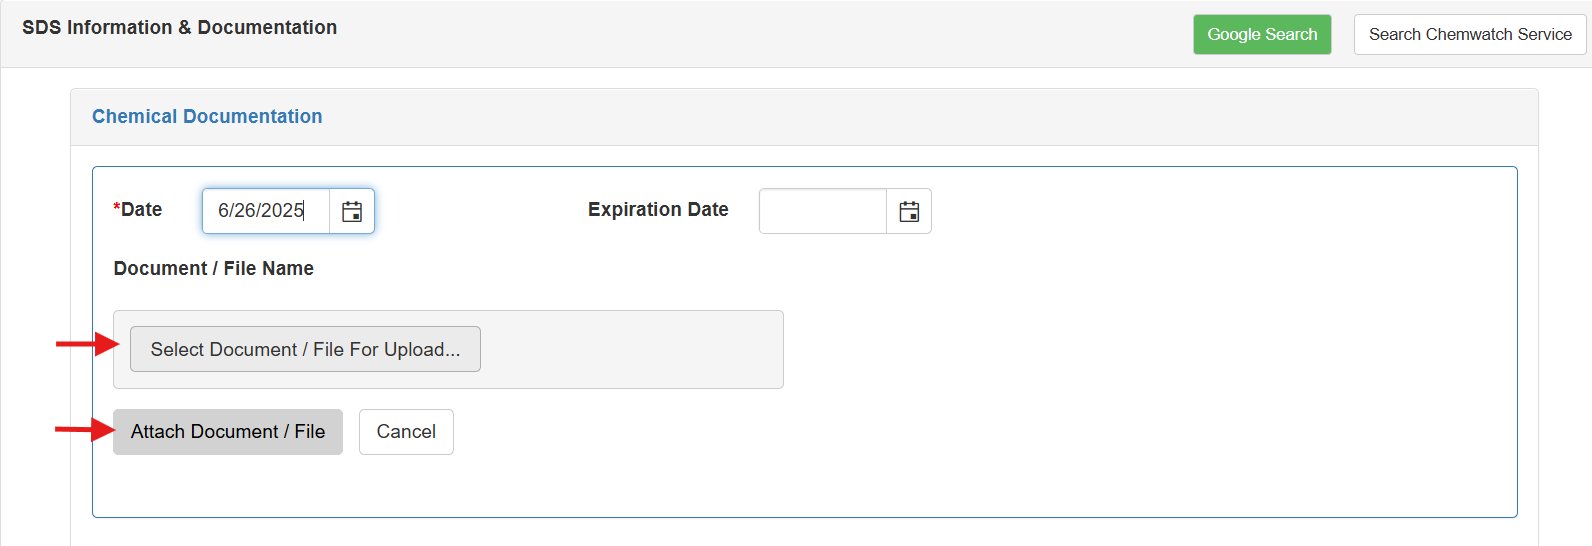
Optionally, you can use the “Add” button to upload any additional reference documents like SOPs, procedures, etc.
10. Scroll to the bottom of the page and select “Save” to complete the addition process.
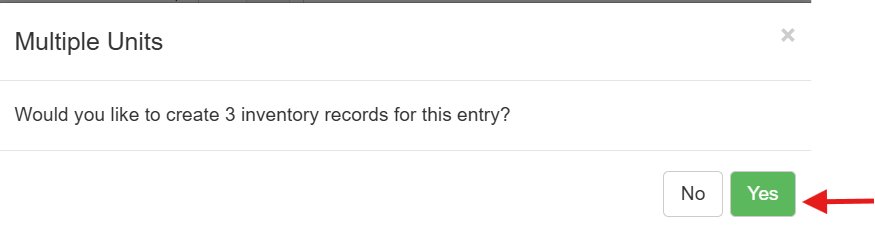
11. If you have multiple units, a prompt will appear—select “Yes” to assign unique barcodes to each unit.
12. A new screen will pop up to enter your EH&S provided chemical barcode numbers. Type or scan the barcodes after labeling the container(s).
i. If you have multiple containers, press "Enter" after each barcode or click on the arrow.
ii. If barcode numbers are sequential, use the flash button next to the arrow to autofill them.
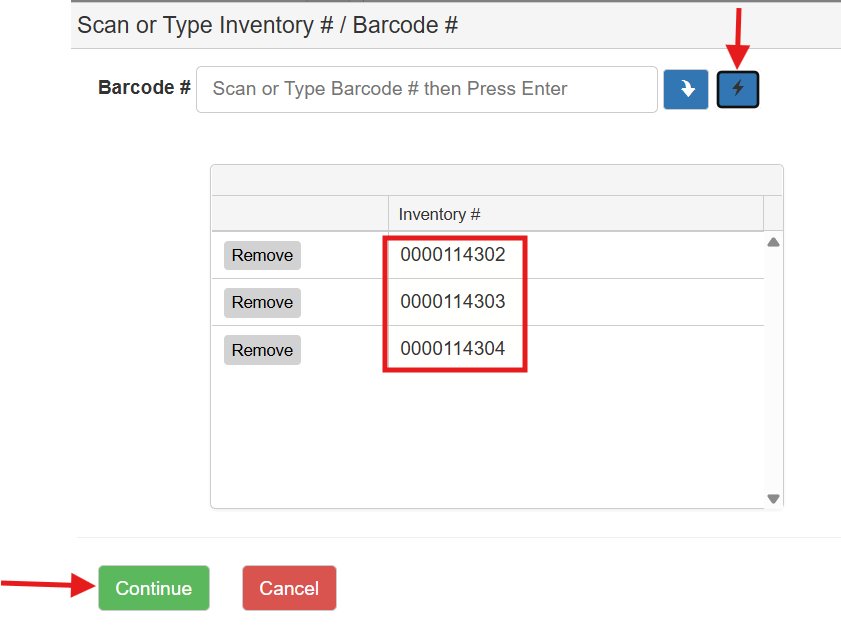
Click on “Continue” after entering the barcodes.
IMPORTANT: Enter the entire 10-digit barcode number including any leading zeros.
Only use the EH&S preprinted barcodes. The barcode paper has a special lining (resistant to most chemicals). We offer pre-printed barcodes, free of charge. Send requests by one of these methods:
• The "Order Barcodes” request feature listed on Dashboard (main EHSA page)
• Send an email request to EHSA SUPPORT